Jenkins
How to effectively and securely manage secrets in Jenkins using Infisical
Objective: Fetch secrets from Infisical to Jenkins pipelines
In this guide, we’ll outline the steps to deliver secrets from Infisical to Jenkins via the Infisical CLI. At a high level, the Infisical CLI will be executed within your build environment and use a machine identity to authenticate with Infisical. This token must be added as a Jenkins Credential and then passed to the Infisical CLI as an environment variable, enabling it to access and retrieve secrets within your workflows.
Prerequisites:
- Set up and add secrets to Infisical.
- Create a machine identity (Recommended), or a service token in Infisical.
- You have a working Jenkins installation with the credentials plugin installed.
- You have the Infisical CLI installed on your Jenkins executor nodes or container images.
Add Infisical Machine Identity to Jenkins
After setting up your project in Infisical and installing the Infisical CLI to the environment where your Jenkins builds will run, you will need to add the Infisical Machine Identity to Jenkins.
To generate a Infisical machine identity, follow the guide here. Once you have generated the token, navigate to Manage Jenkins > Manage Credentials in your Jenkins instance.
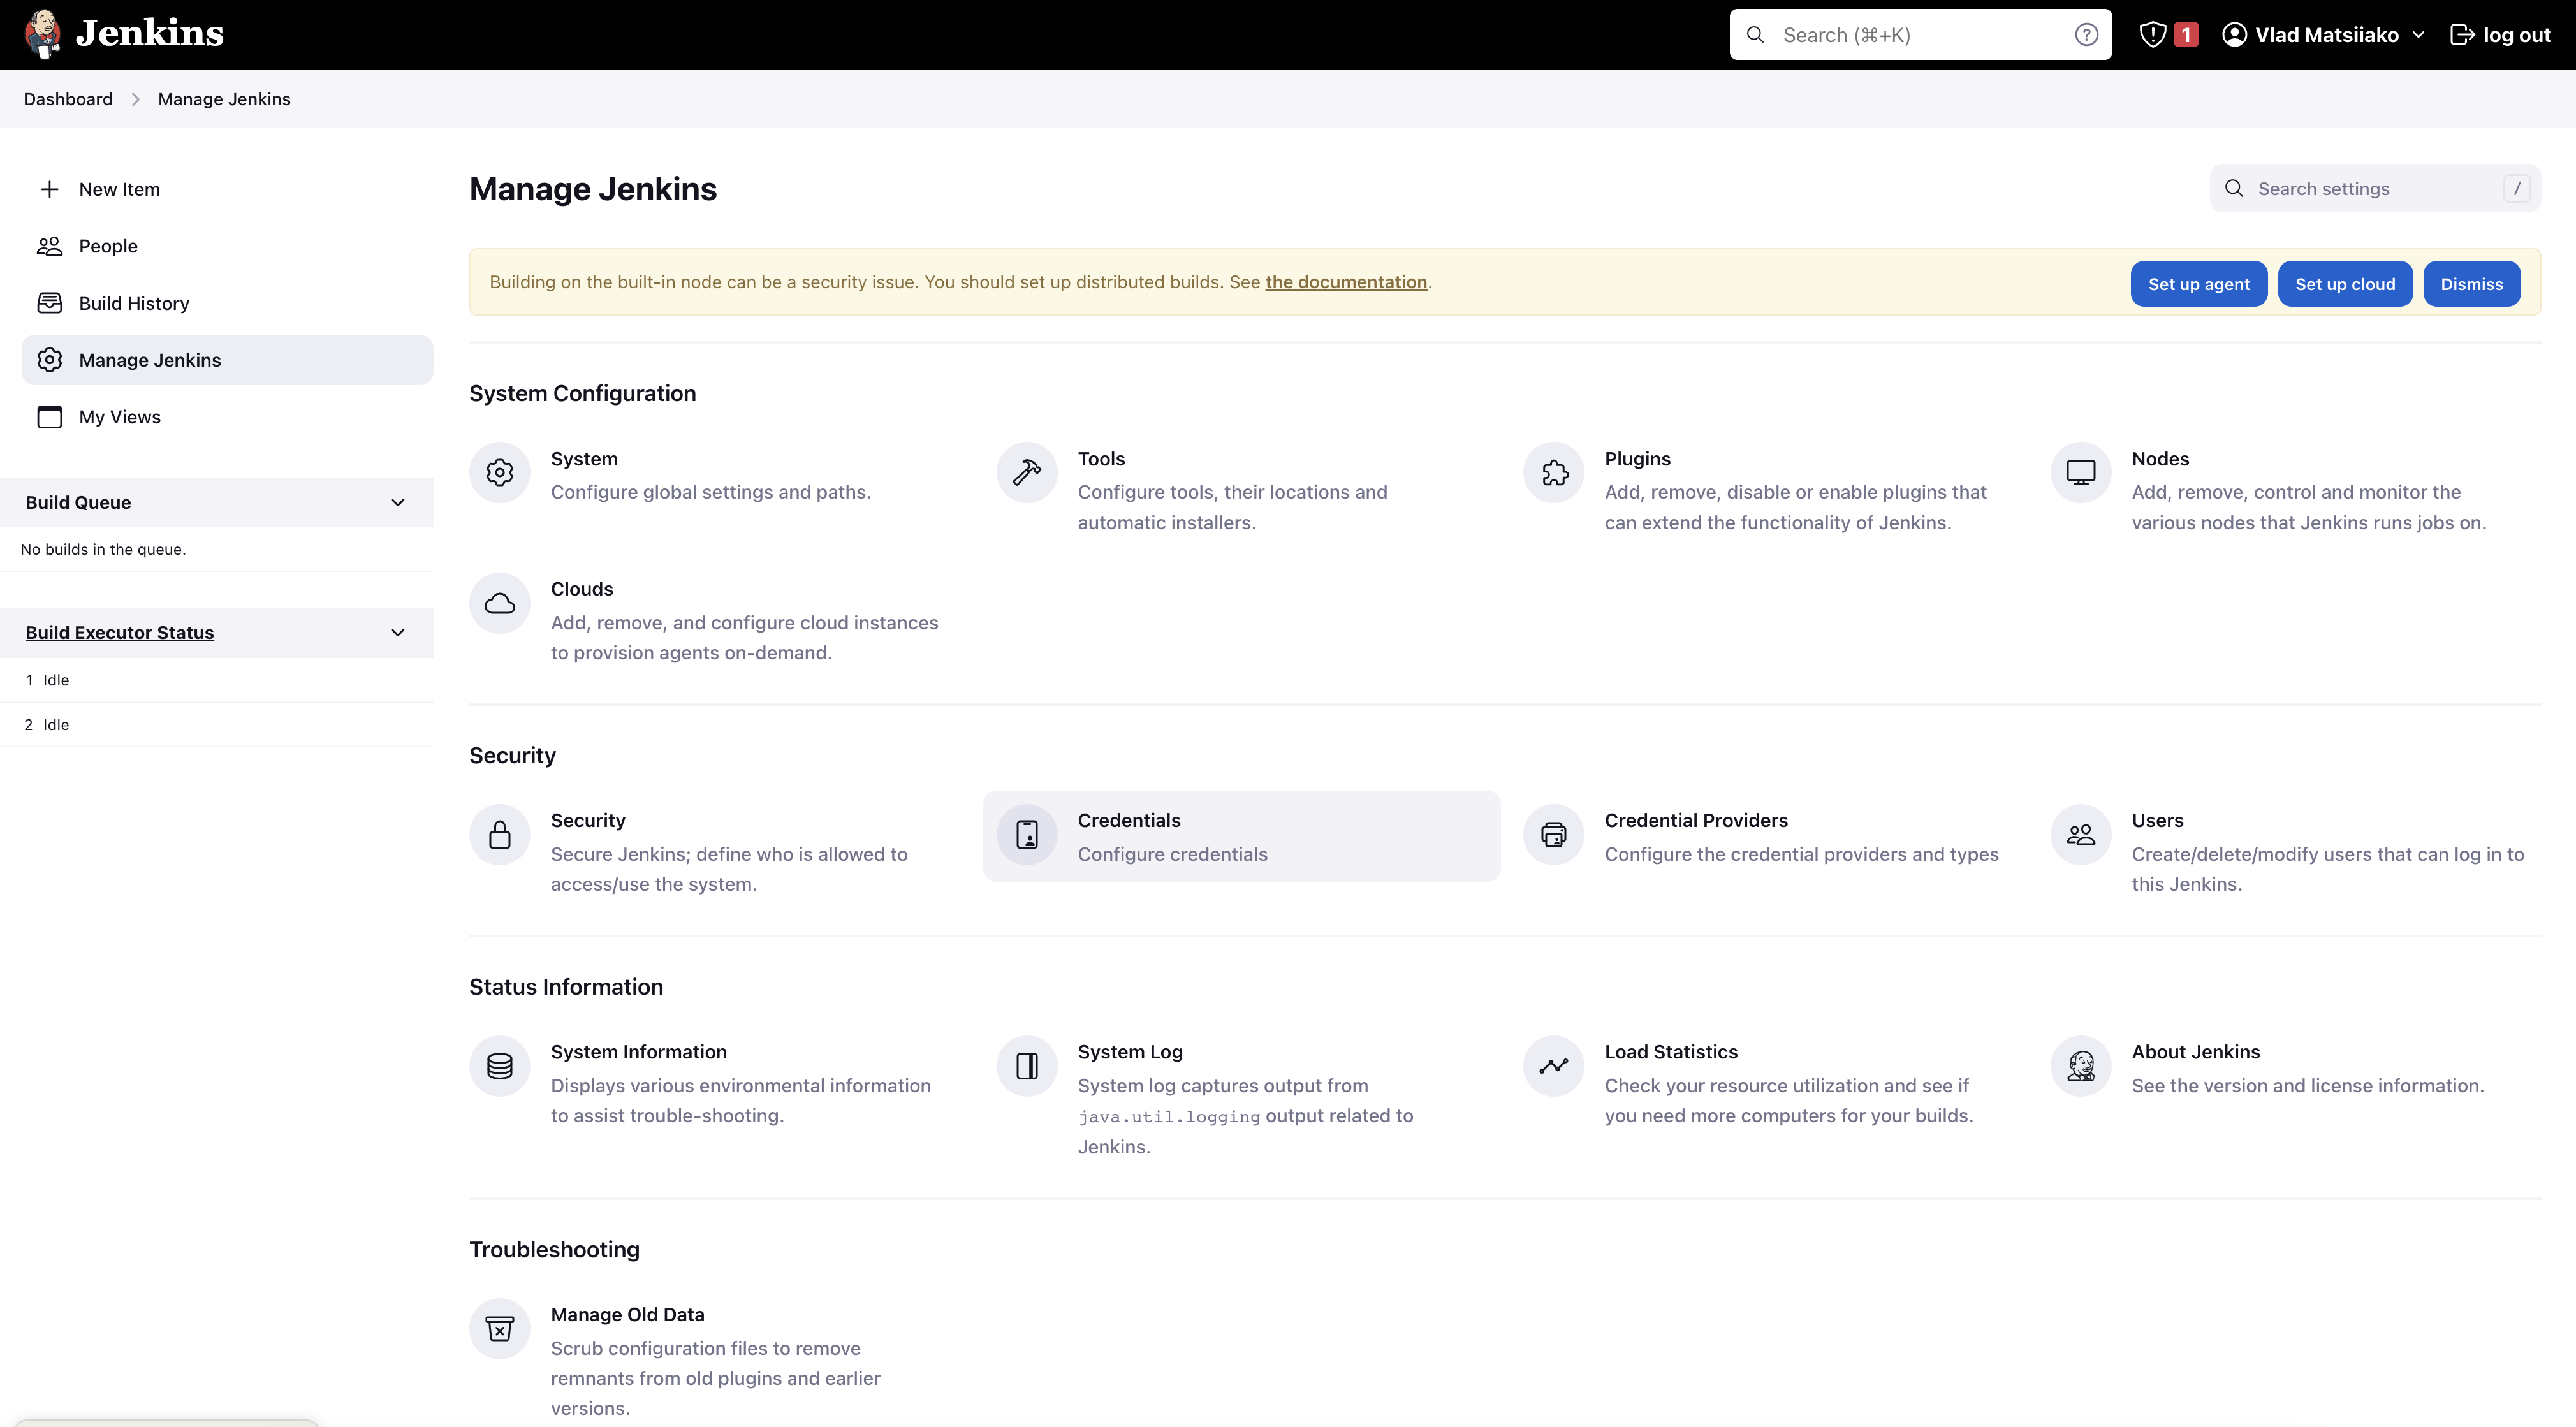
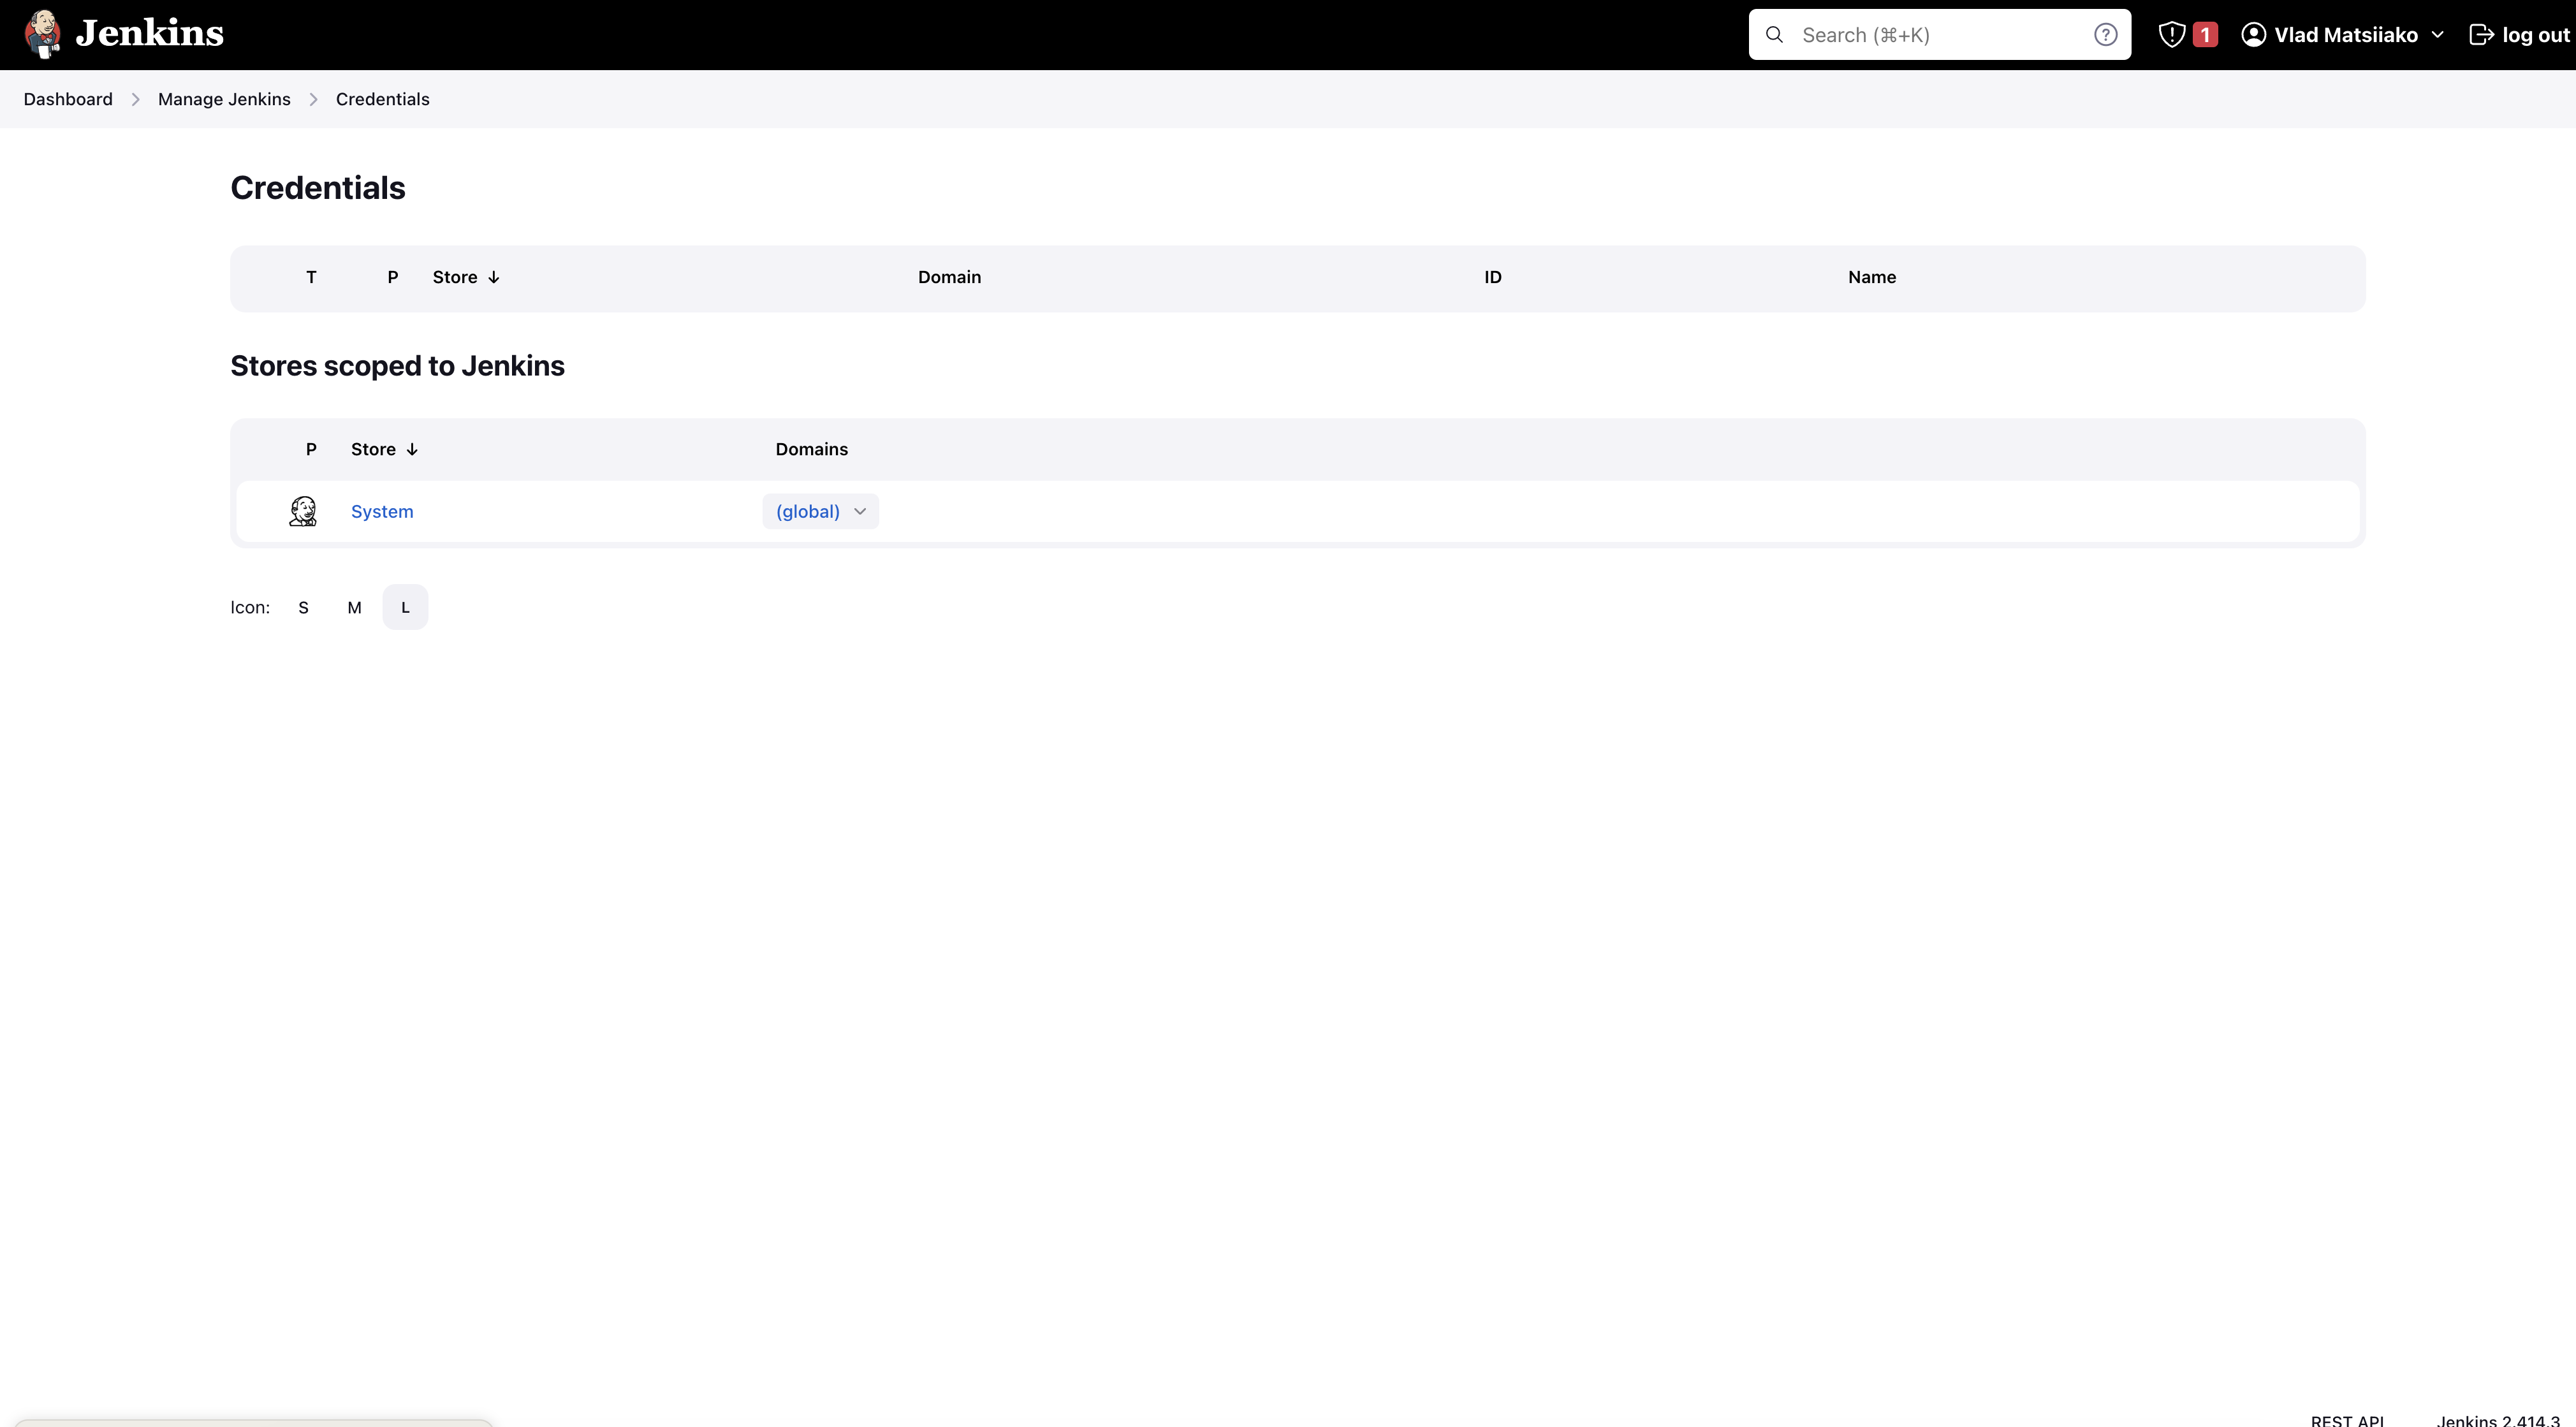
Click on the credential store you want to store the Infisical Machine Identity in. In this case, we’re using the default Jenkins global store.
Each of your projects will have a different INFISICAL_TOKEN.
As a result, it may make sense to spread these out into separate credential domains depending on your use case.
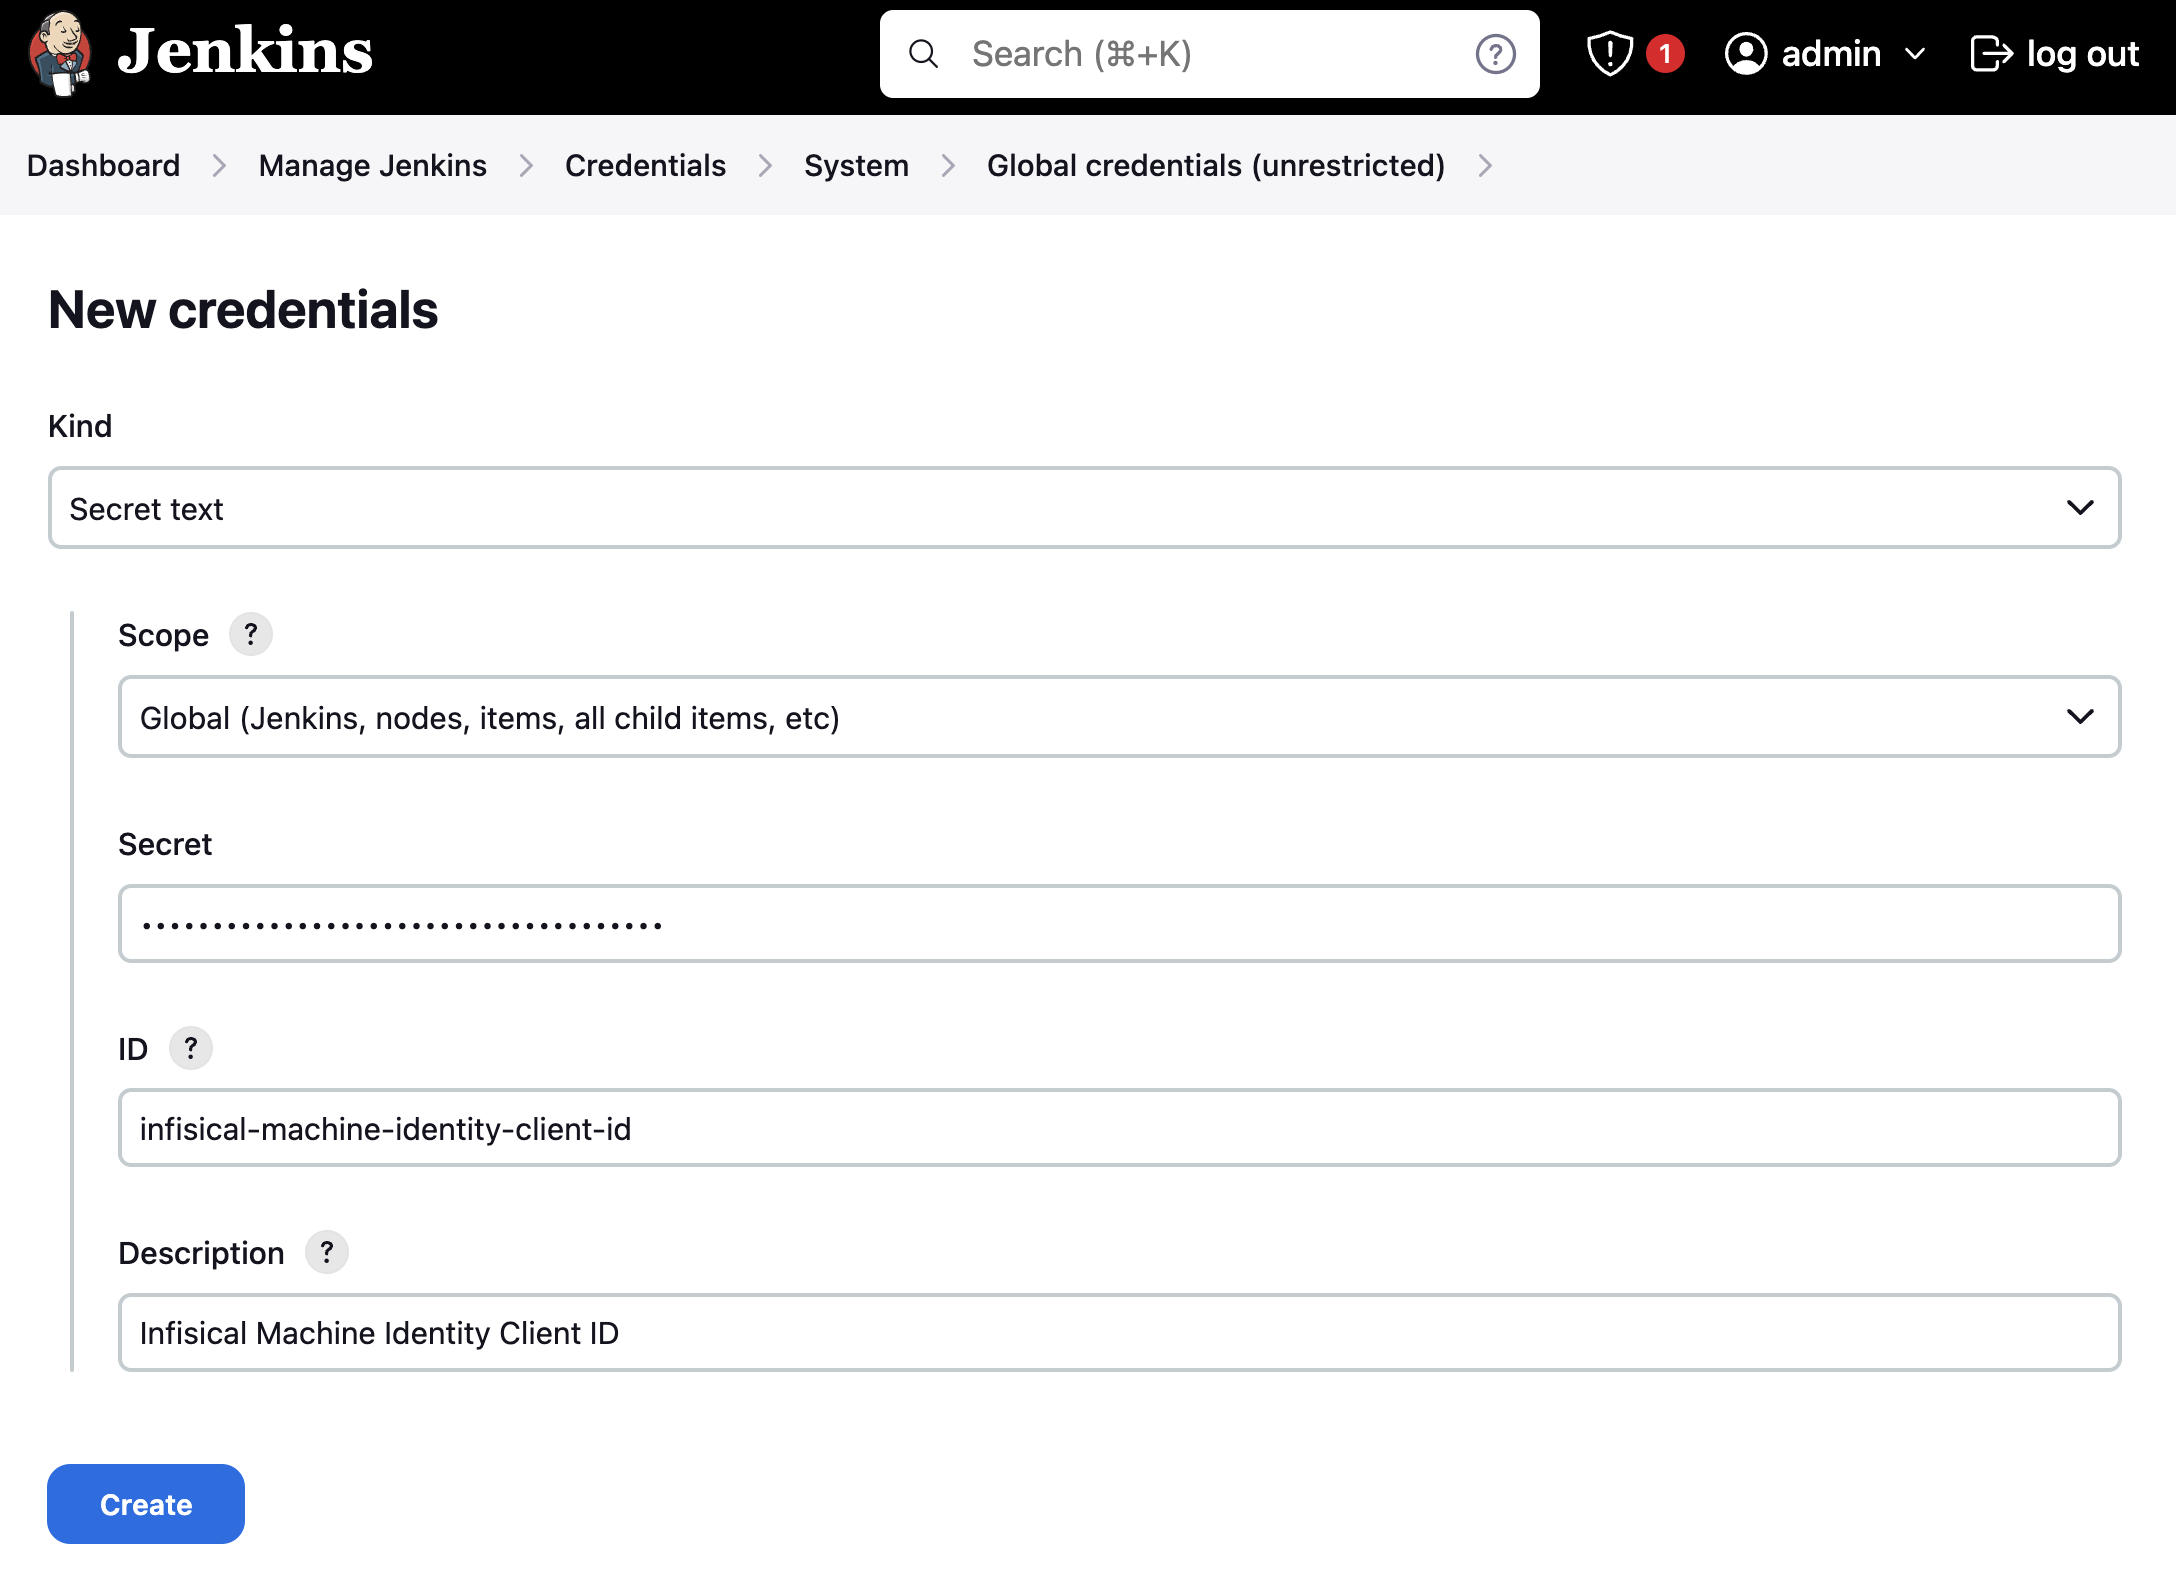
Now, click Add Credentials.

Choose Secret text for the Kind option from the dropdown list and enter the Infisical Service Token in the Secret field.
Although the ID can be any value, we’ll set it to infisical-machine-identity-client-id and infisical-machine-identity-client-secret for the sake of this guide.
The description is optional and can be any text you prefer.

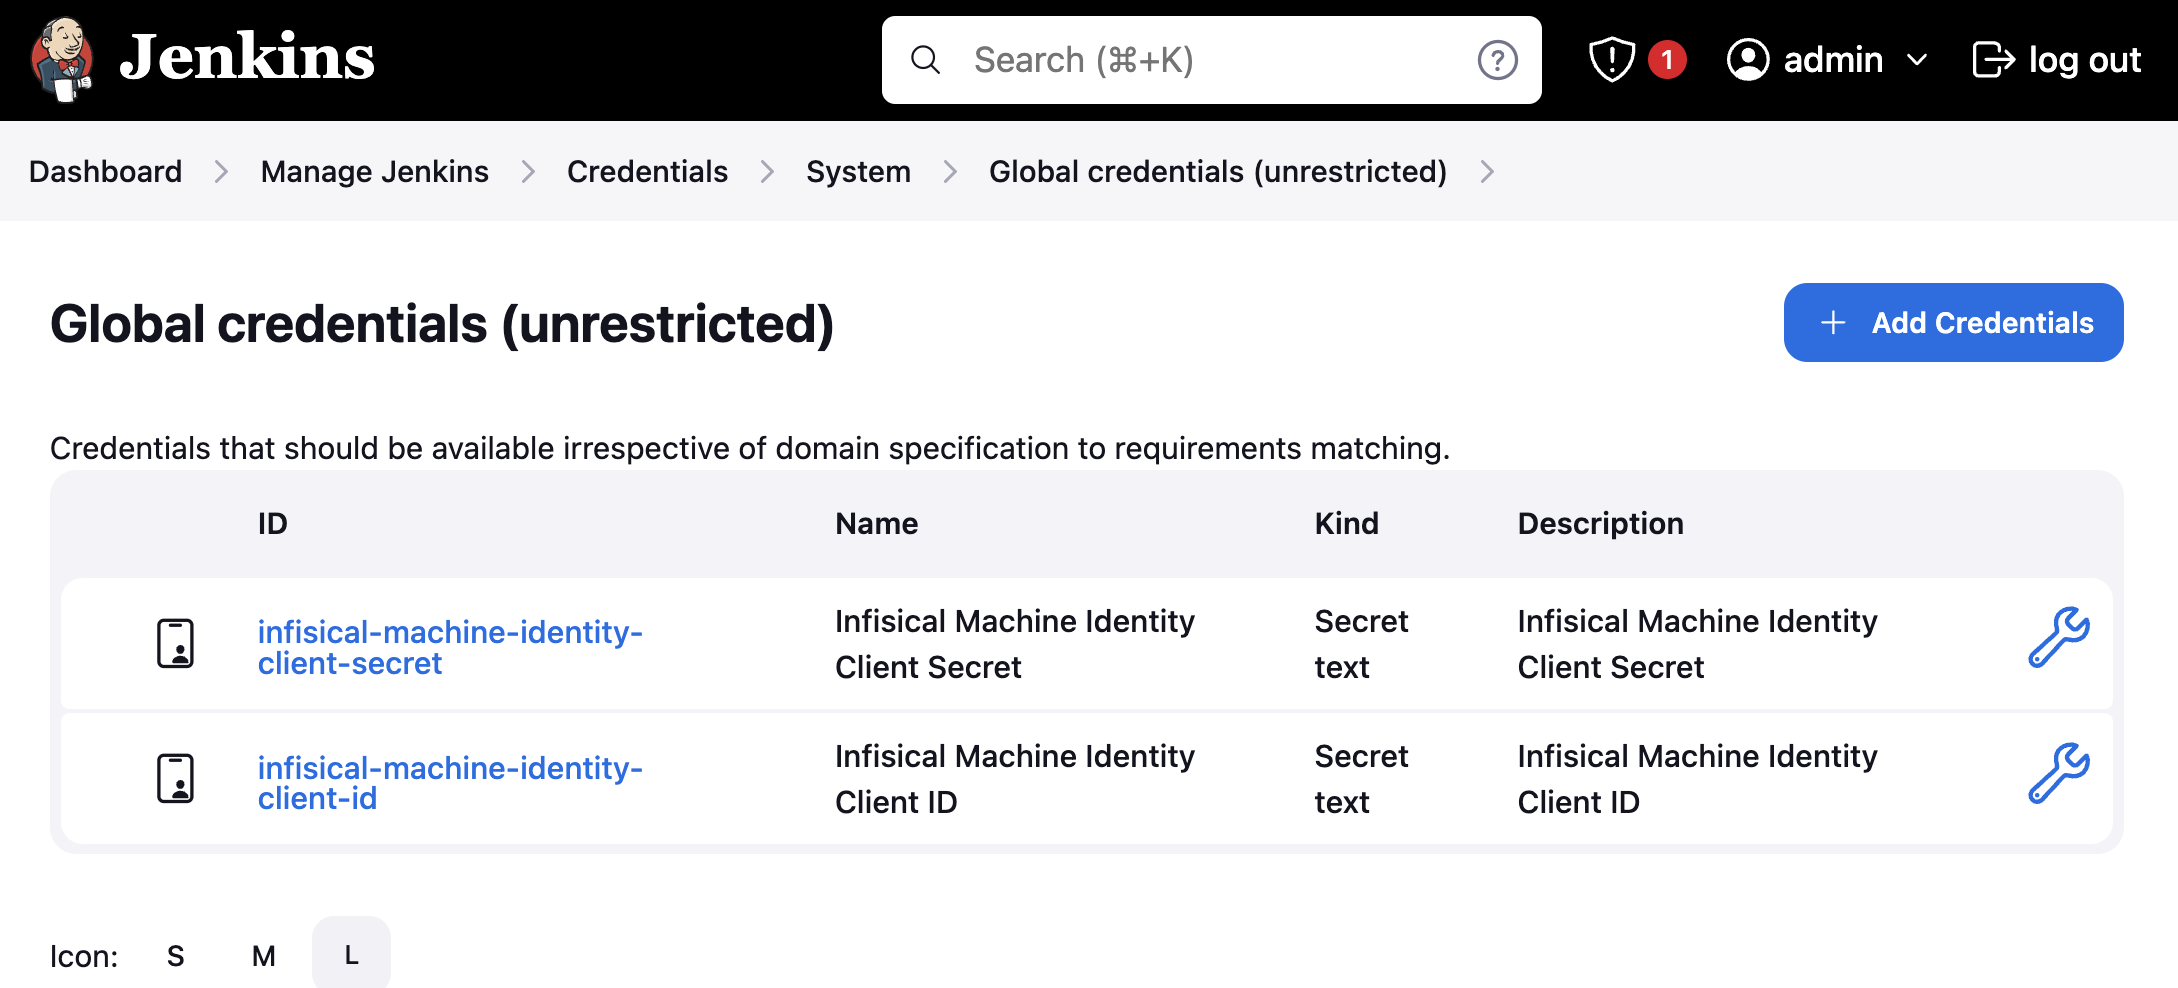
When you’re done, you should see two credentials similar to the one below:
Use Infisical in a Freestyle Project
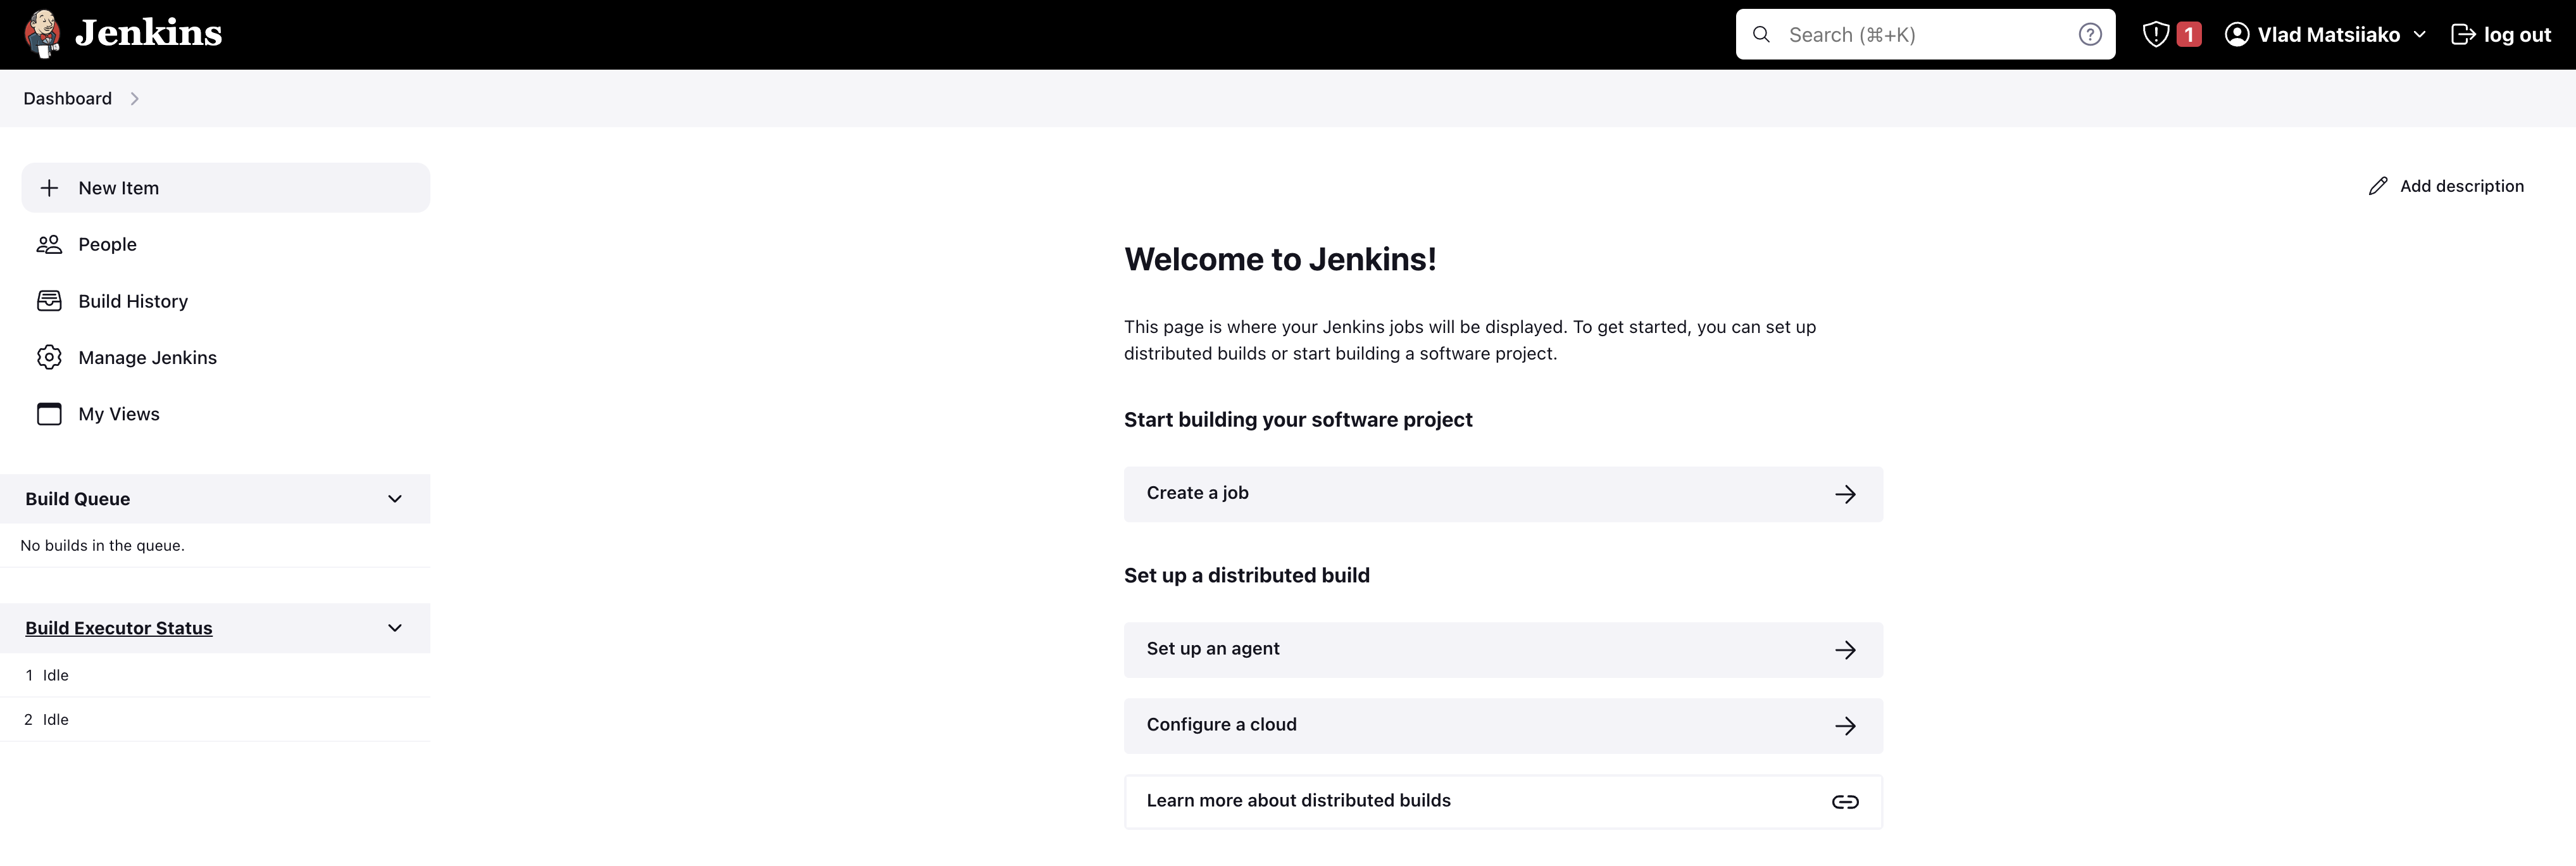
To fetch secrets with Infisical in a Freestyle Project job, you’ll need to expose the credential you created above as an environment variable to the Infisical CLI. To do so, first click New Item from the dashboard navigation sidebar:
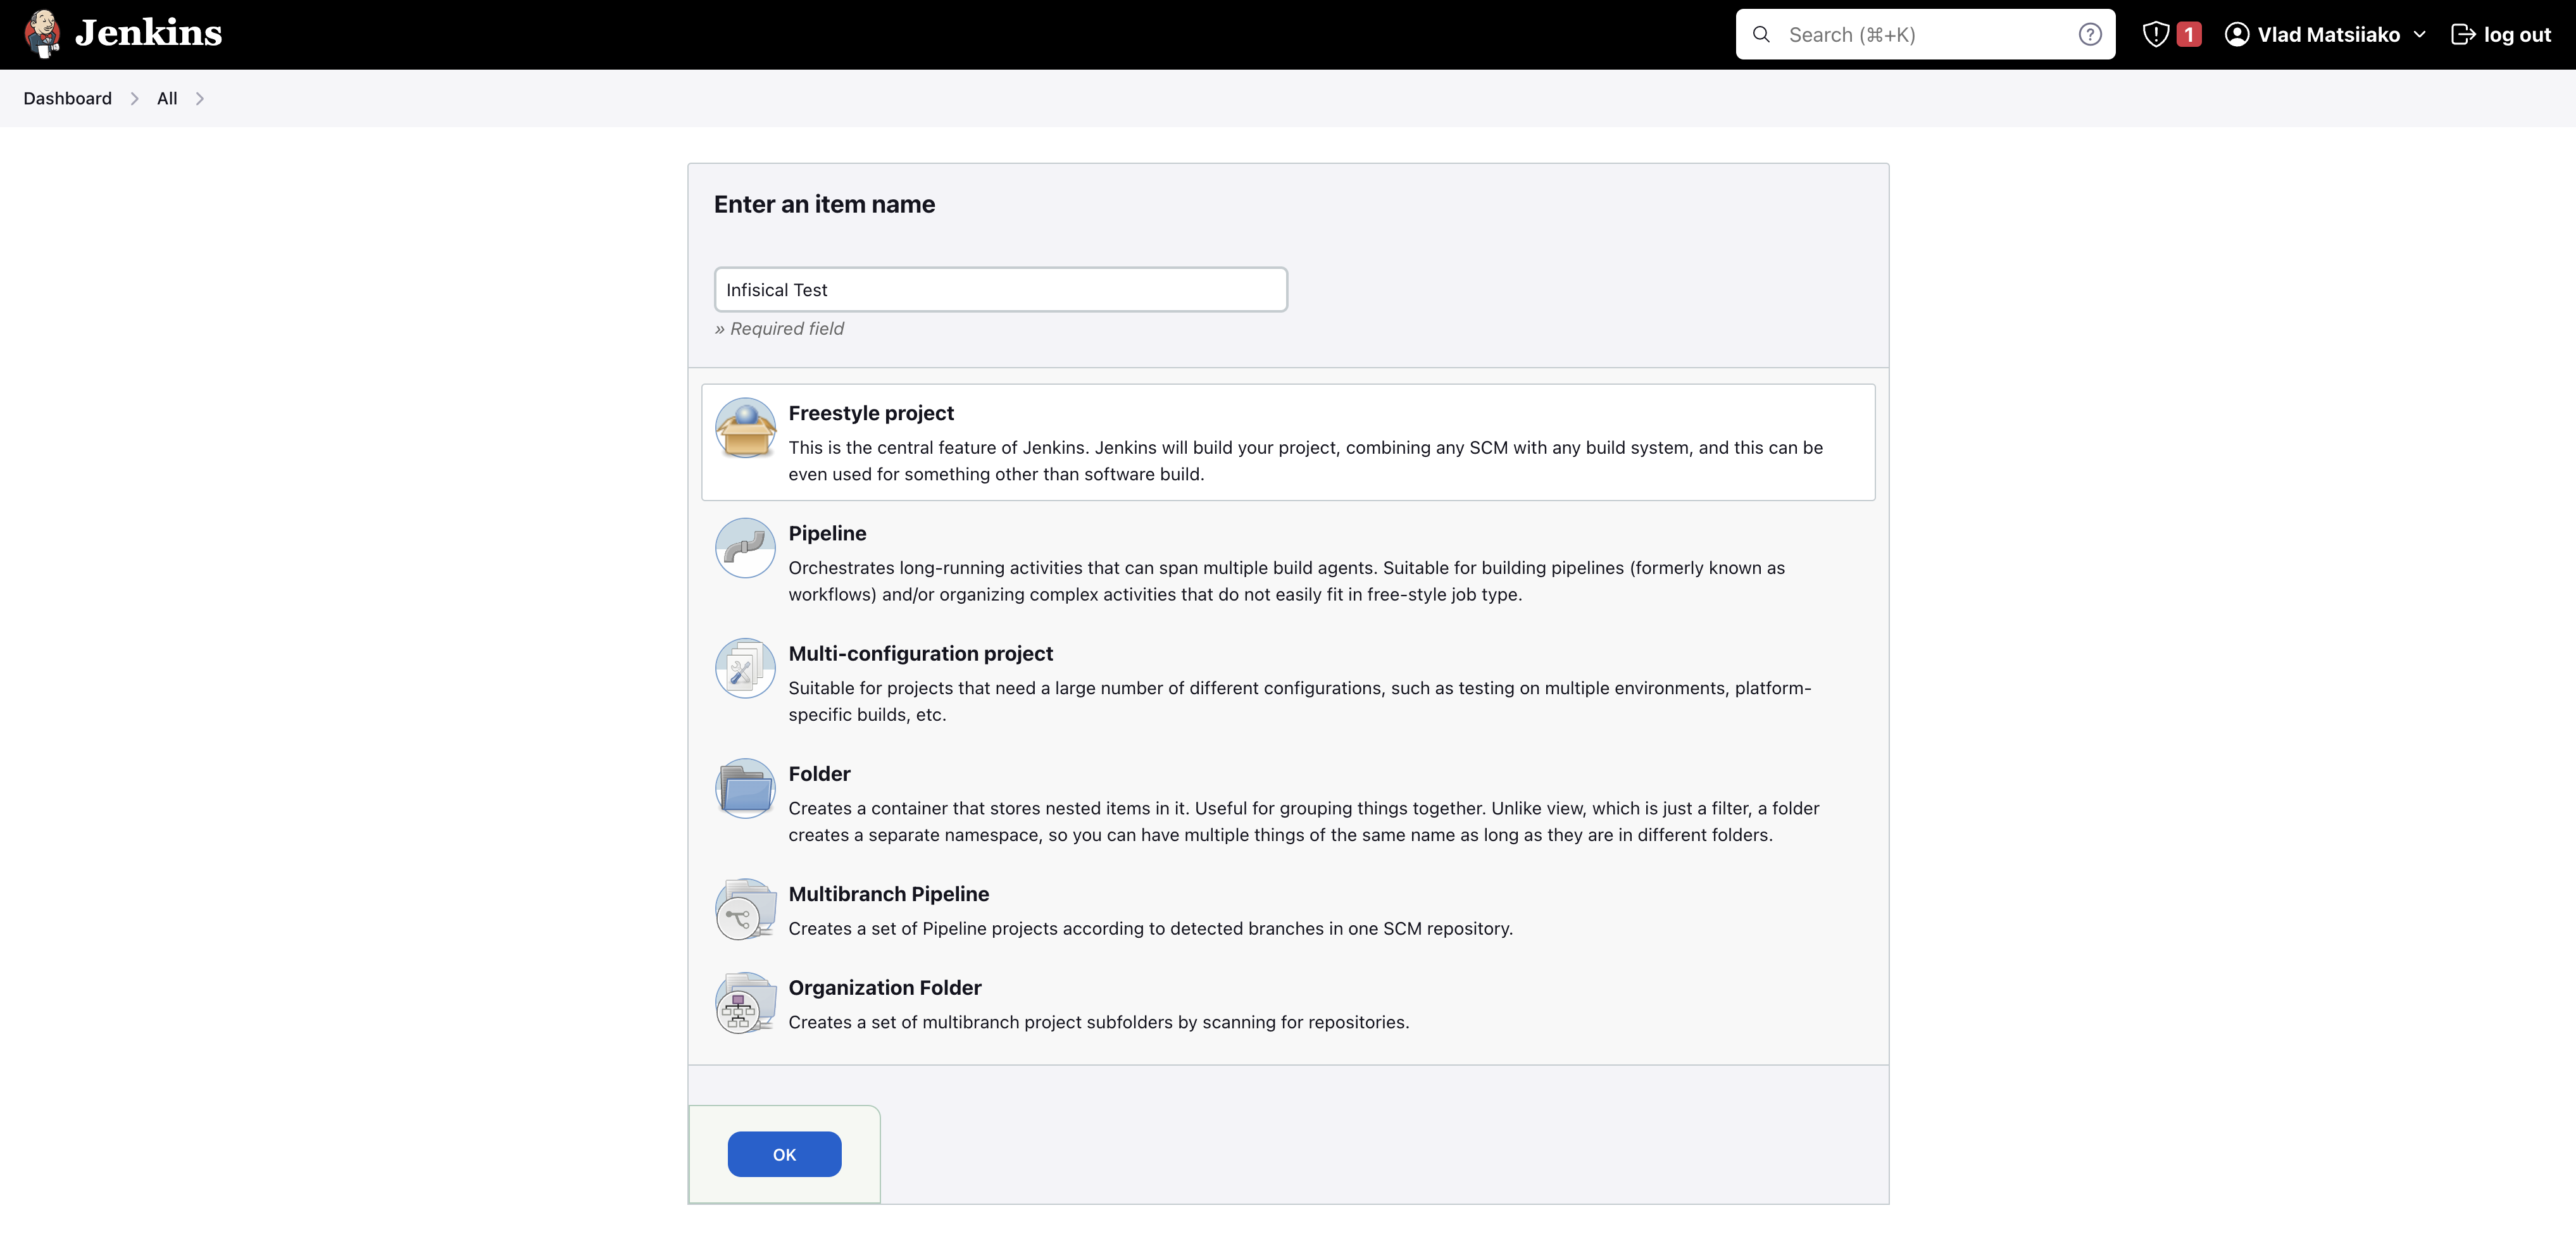
Enter the name of the job, choose the Freestyle Project option, and click OK.
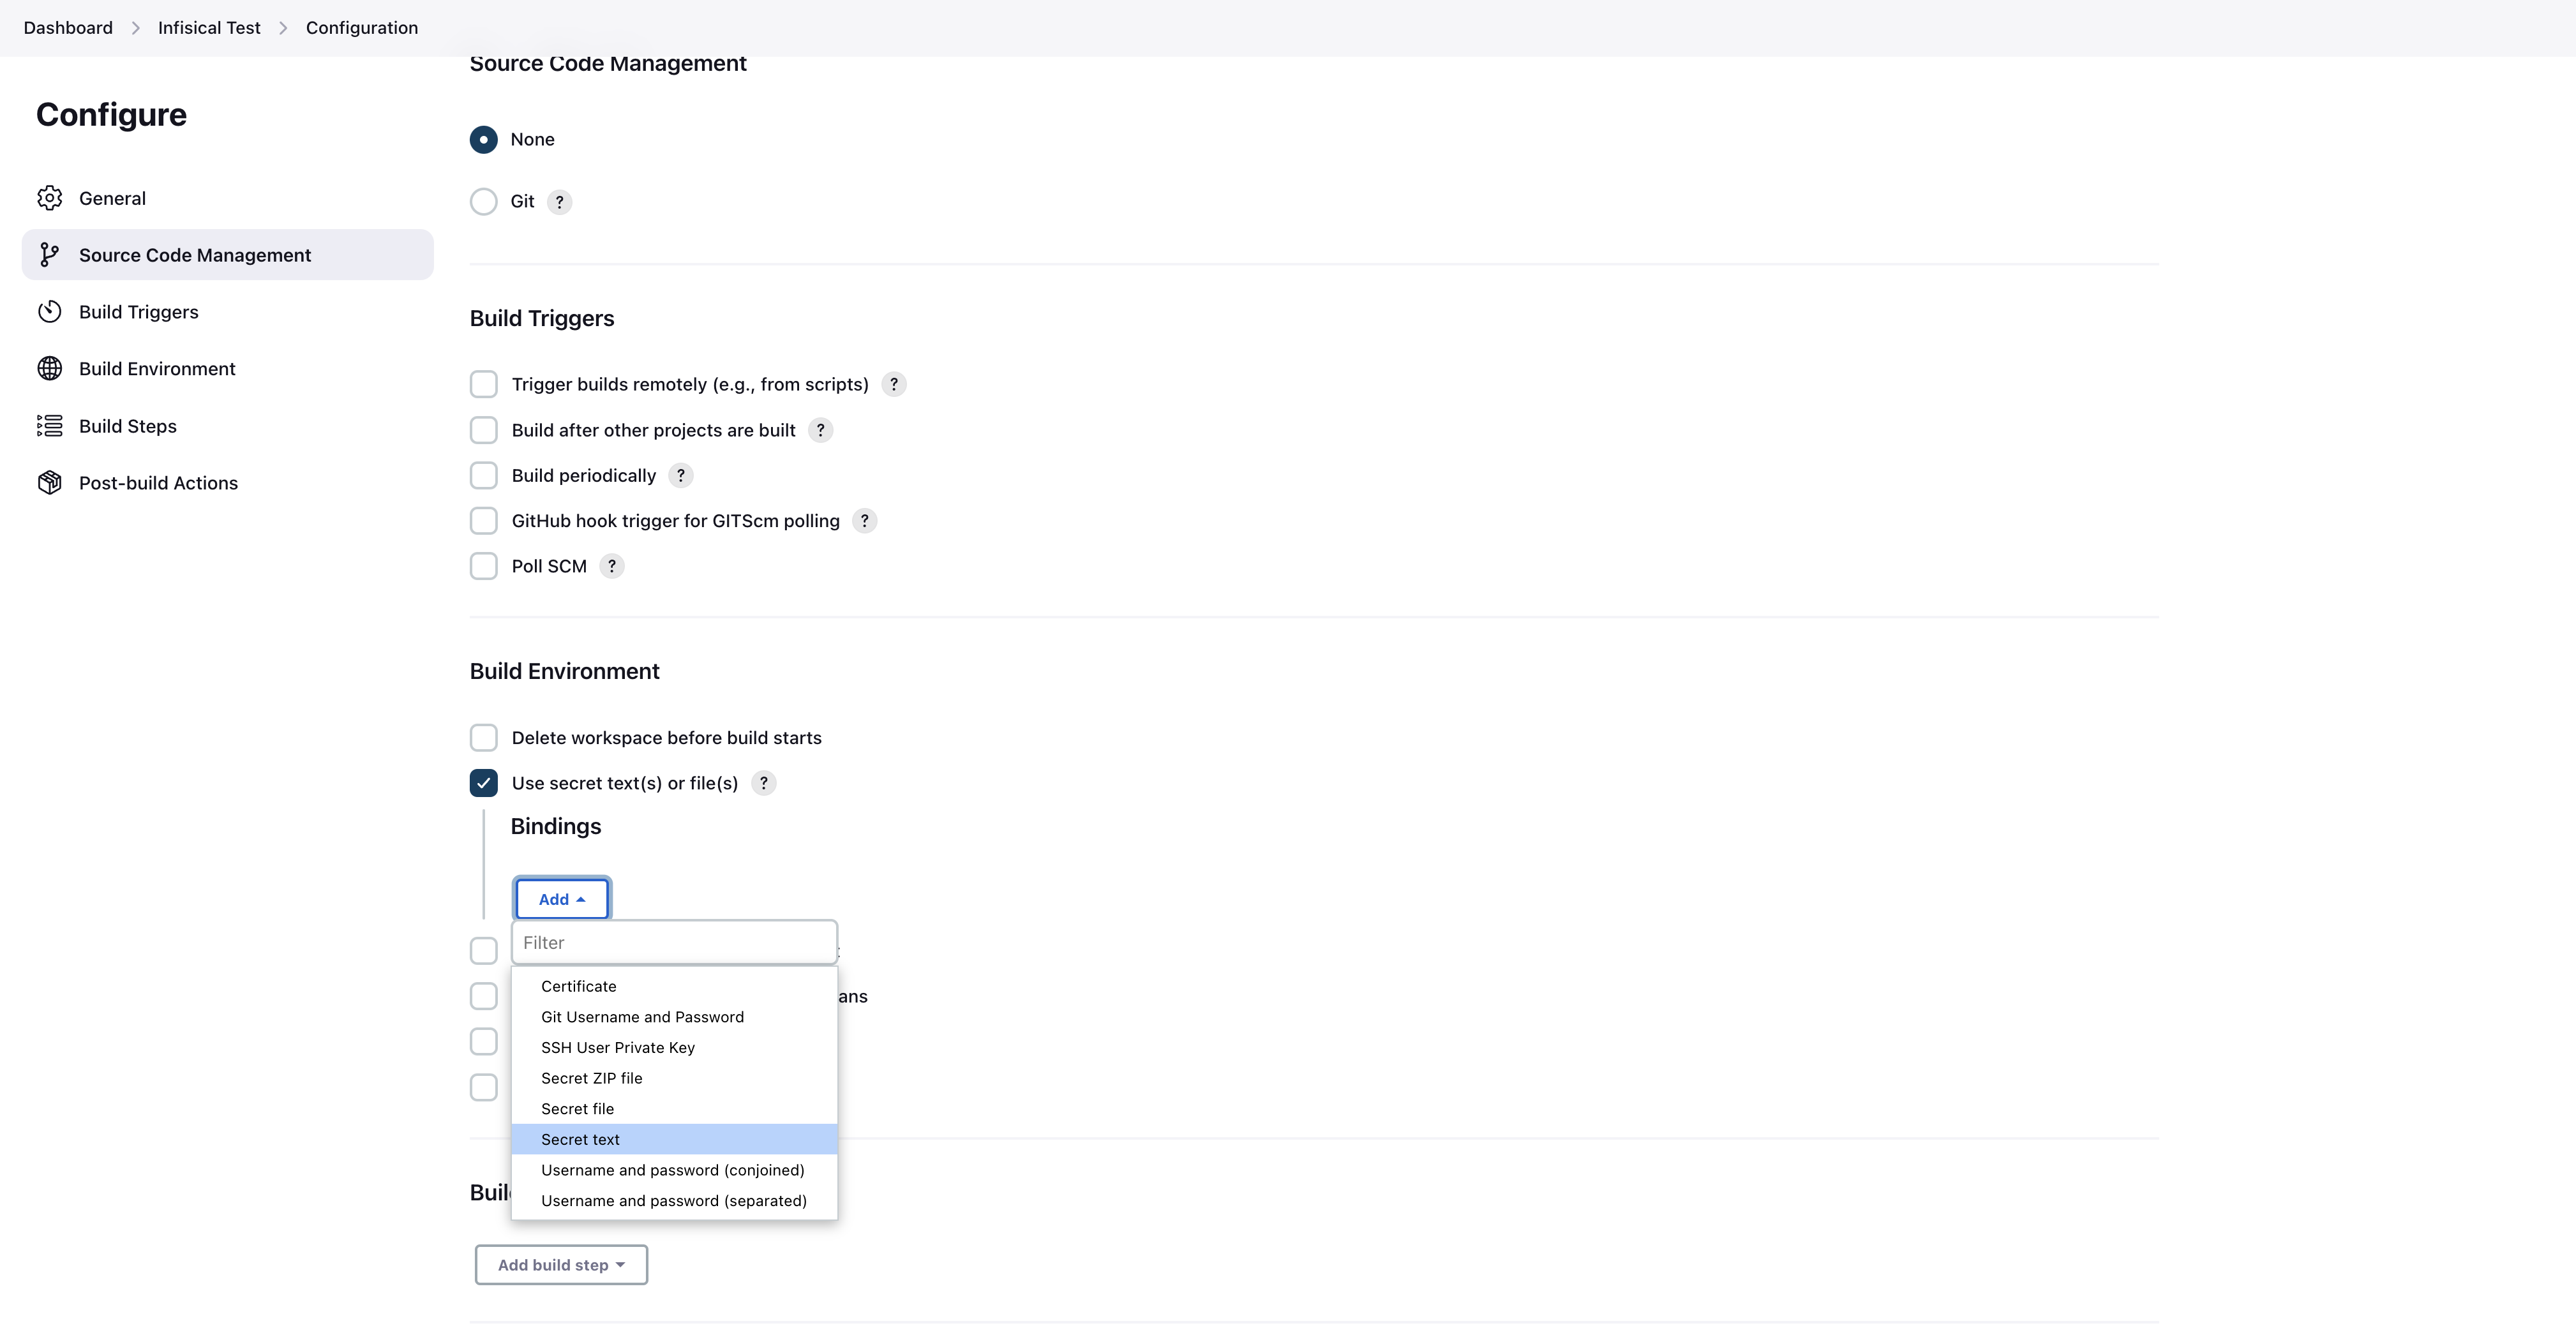
Scroll down to the Build Environment section and enable the Use secret text(s) or file(s) option. Then click Add under the Bindings section and choose Secret text from the dropdown menu.
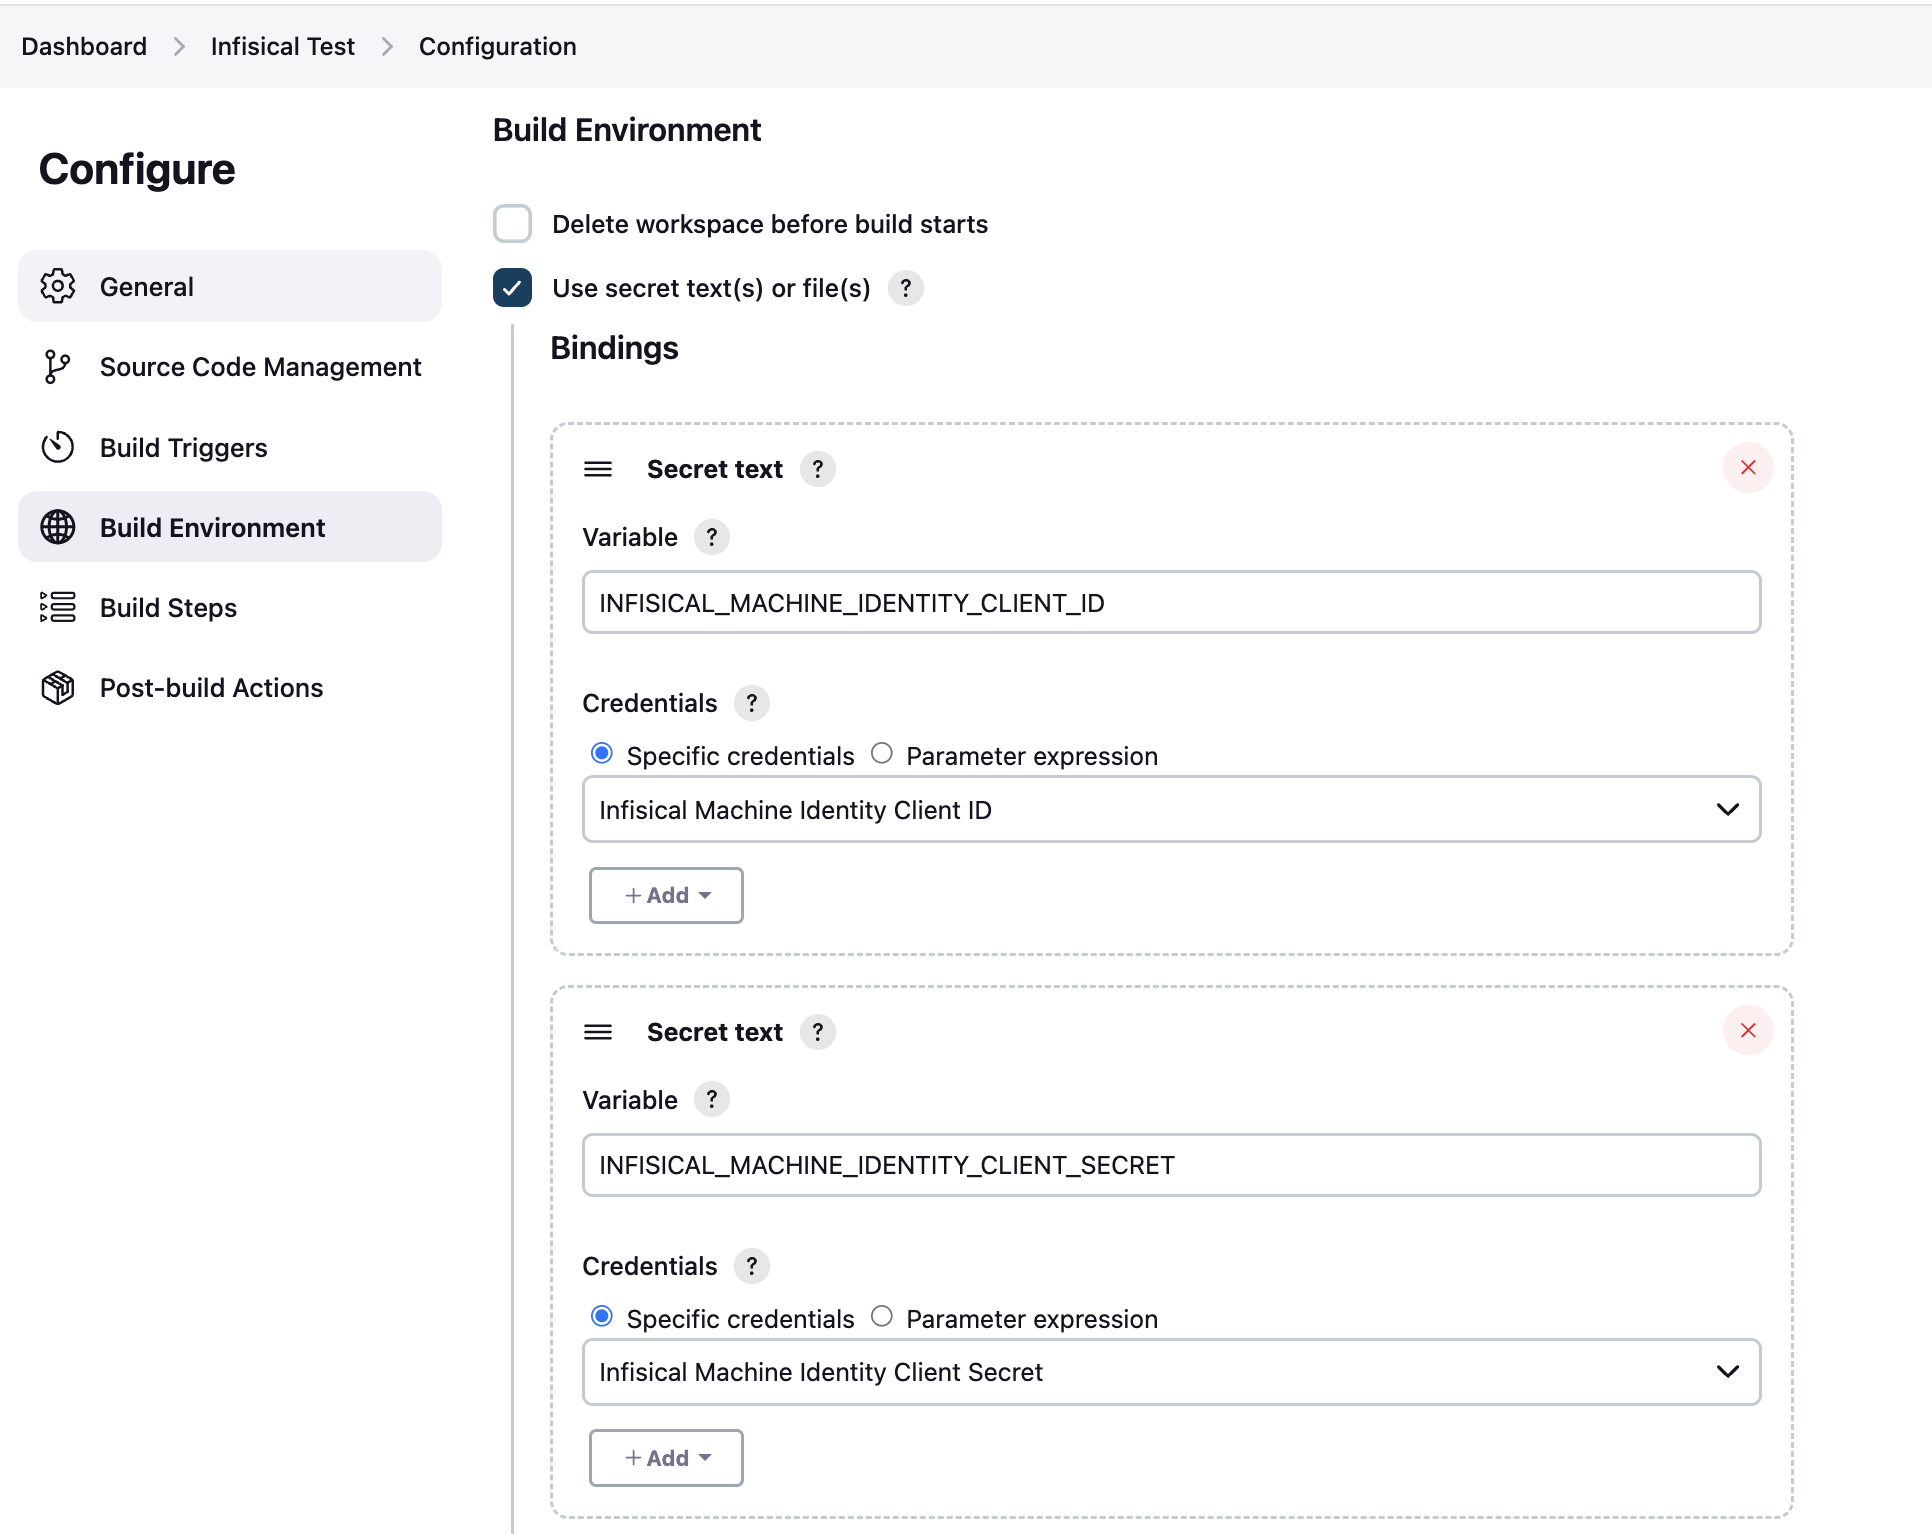
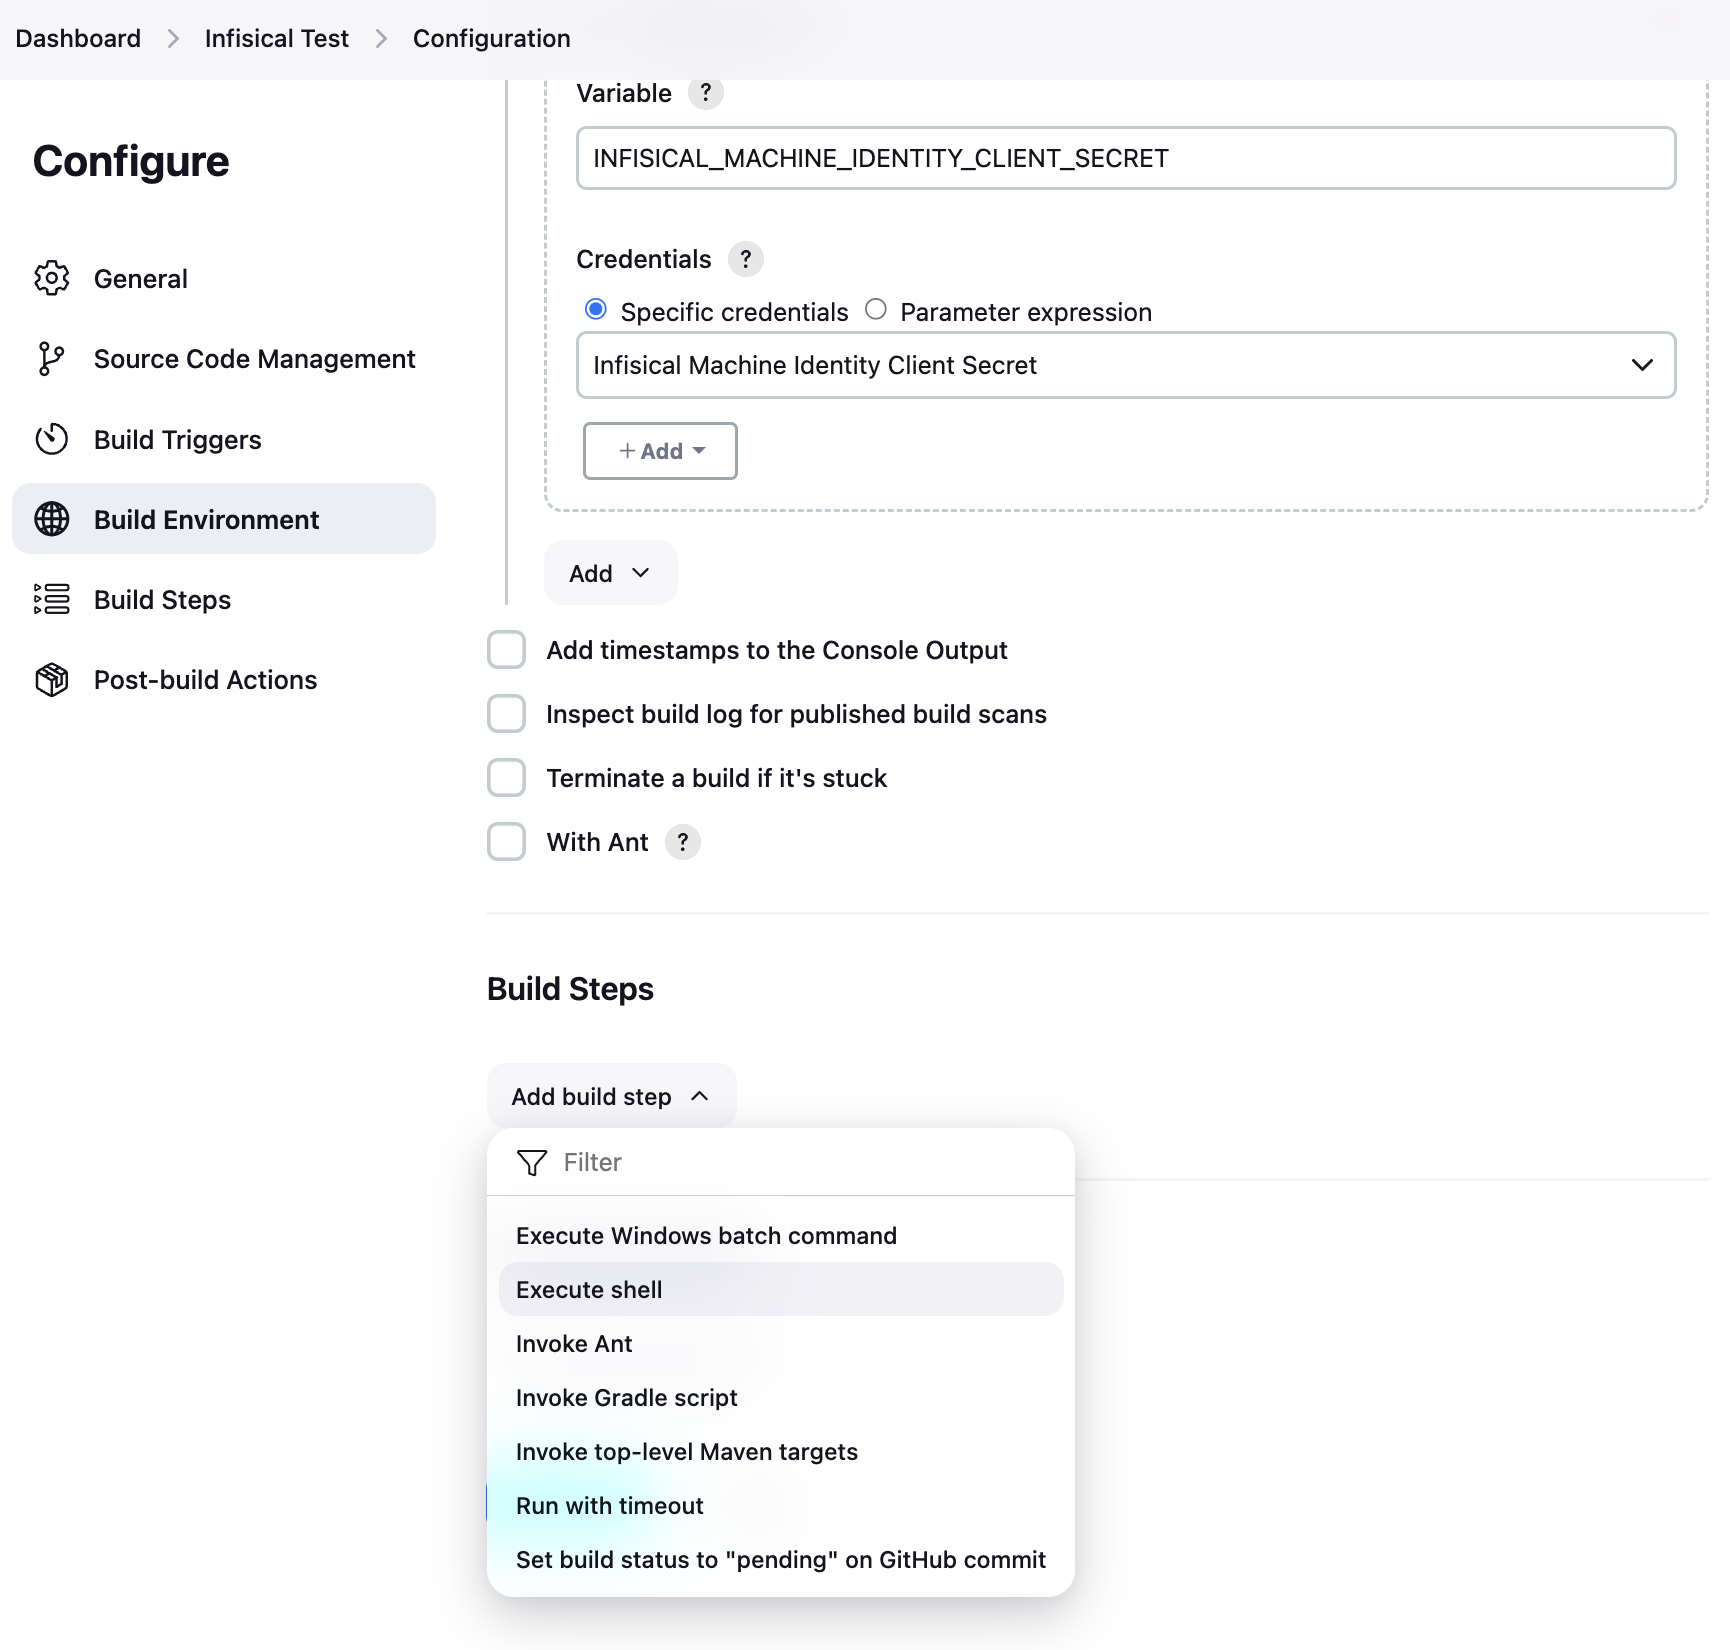
Enter INFISICAL_MACHINE_IDENTITY_CLIENT_ID in the Variable field for the client ID, and INFISICAL_MACHINE_IDENTITY_CLIENT_SECRET for the client secret. Then click the Specific credentials option from the Credentials section and select the credentials you created earlier.
In this case, we saved it as Infisical Machine Identity Client ID and Infisical Machine Identity Client Secret so we’ll choose those from the dropdown menu.
Make sure to add bindings for both the client ID and the client secret.
Scroll down to the Build section and choose Execute shell from the Add build step menu.
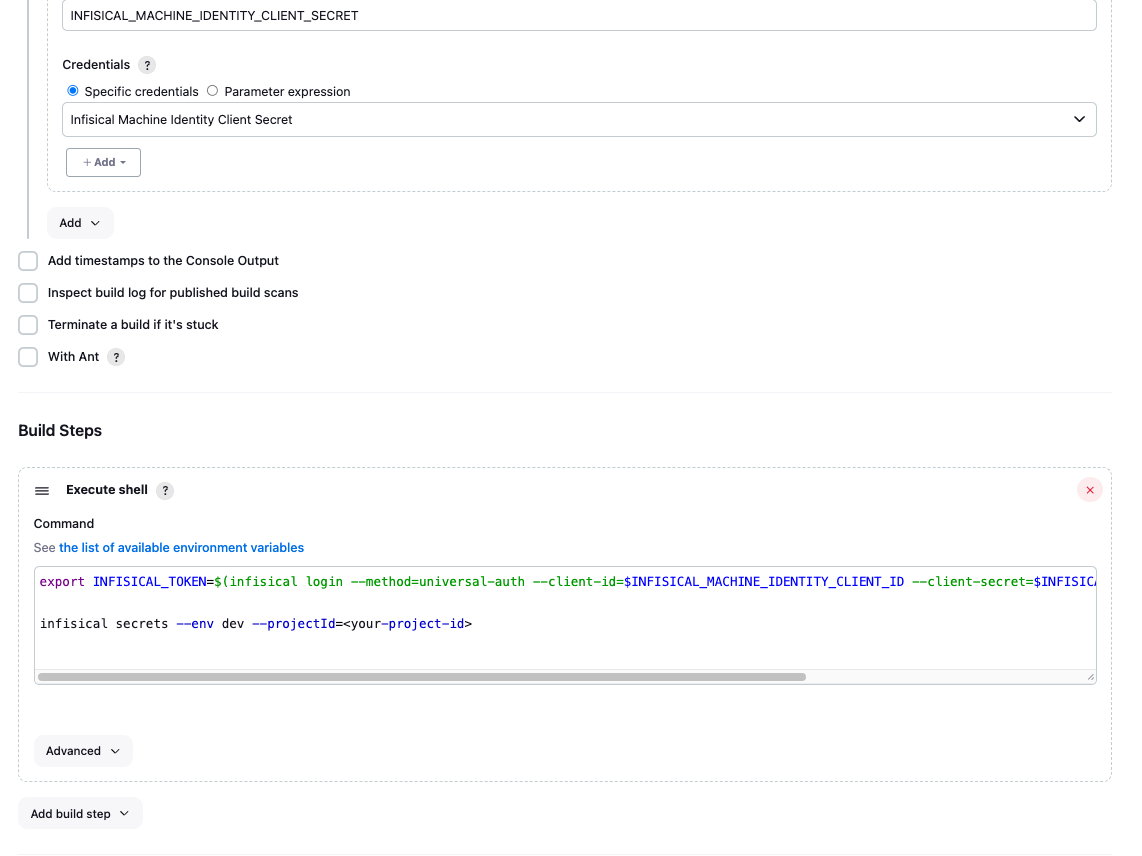
In the command field, you can now use the Infisical CLI to fetch secrets. The example command below will print the secrets using the service token passed as a credential. When done, click Save.
  export INFISICAL_TOKEN=$(infisical login --method=universal-auth --client-id=$INFISICAL_MACHINE_IDENTITY_CLIENT_ID --client-secret=$INFISICAL_MACHINE_IDENTITY_CLIENT_SECRET --silent --plain)
  infisical secrets --env dev --projectId=<your-project-id>
Finally, click Build Now from the navigation sidebar to run your new job.
Running into issues? Join Infisical’s community Slack for quick support.
Use Infisical in a Jenkins Pipeline
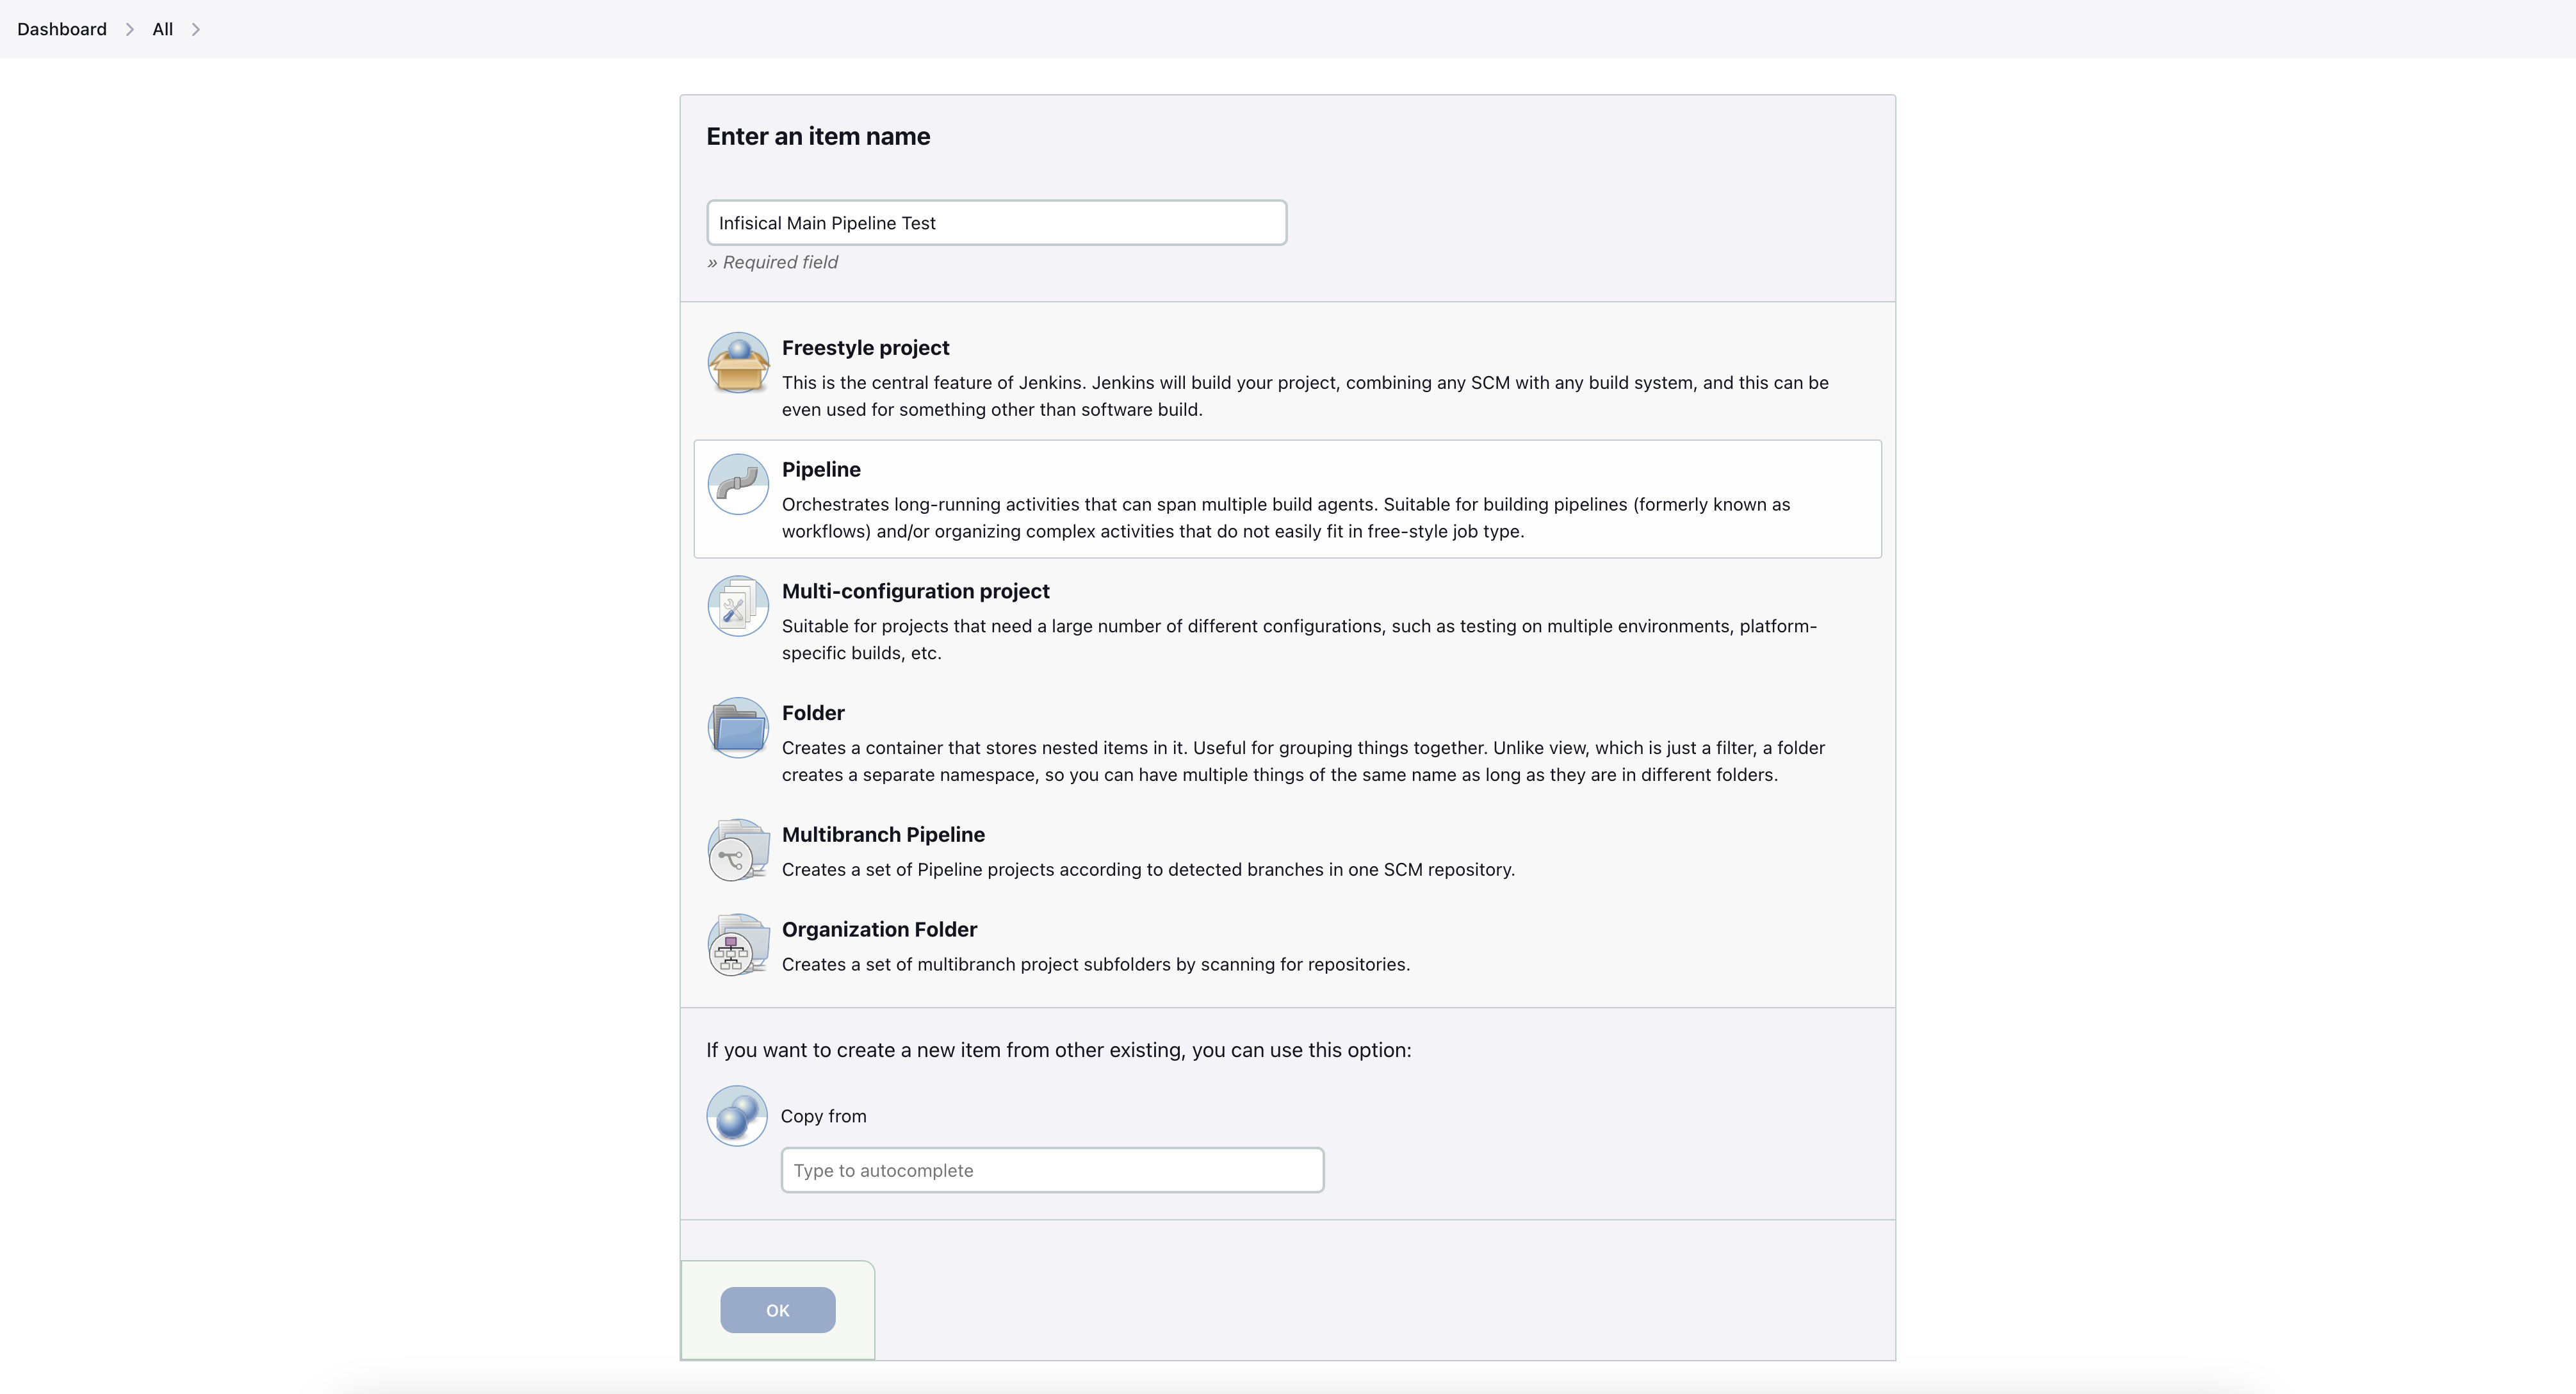
To fetch secrets using Infisical in a Pipeline job, you’ll need to expose the Jenkins credential you created above as an environment variable. To do so, click New Item from the dashboard navigation sidebar:
Enter the name of the job, choose the Pipeline option, and click OK.
Scroll down to the Pipeline section, paste the following into the Script field, and click Save.
pipeline {
    agent any

    environment {
        MACHINE_IDENTITY_CLIENT_ID = credentials('infisical-machine-identity-client-id')
        MACHINE_IDENTITY_CLIENT_SECRET = credentials('infisical-machine-identity-client-secret')

    }

    stages {
        stage('Run Infisical') {
            steps {
                sh("export INFISICAL_TOKEN=$(infisical login --method=universal-auth --client-id=${MACHINE_IDENTITY_CLIENT_ID} --client-secret=${MACHINE_IDENTITY_CLIENT_SECRET} --silent --plain)")
                sh("infisical secrets --env=dev --path=/ --projectId=<your-project-id>")

                // doesn't work
                // sh("docker run --rm test-container infisical secrets --projectId=<your-project-id>")

                // works
                // sh("docker run -e INFISICAL_TOKEN=${INFISICAL_TOKEN} --rm test-container infisical secrets --env=dev --path=/ --projectId=<your-project-id>")

                // doesn't work
                // sh("docker-compose up -d")

                // works
                // sh("INFISICAL_TOKEN=${INFISICAL_TOKEN} docker-compose up -d")
            }
        }
    }
}
The example provided above serves as an initial guide. It shows how Jenkins adds the INFISICAL_TOKEN environment variable, which is configured in the pipeline, into the shell for executing commands.
There may be instances where this doesn’t work as expected in the context of running Docker commands.
However, the list of working examples should provide some insight into how this can be handled properly.
Was this page helpful?